
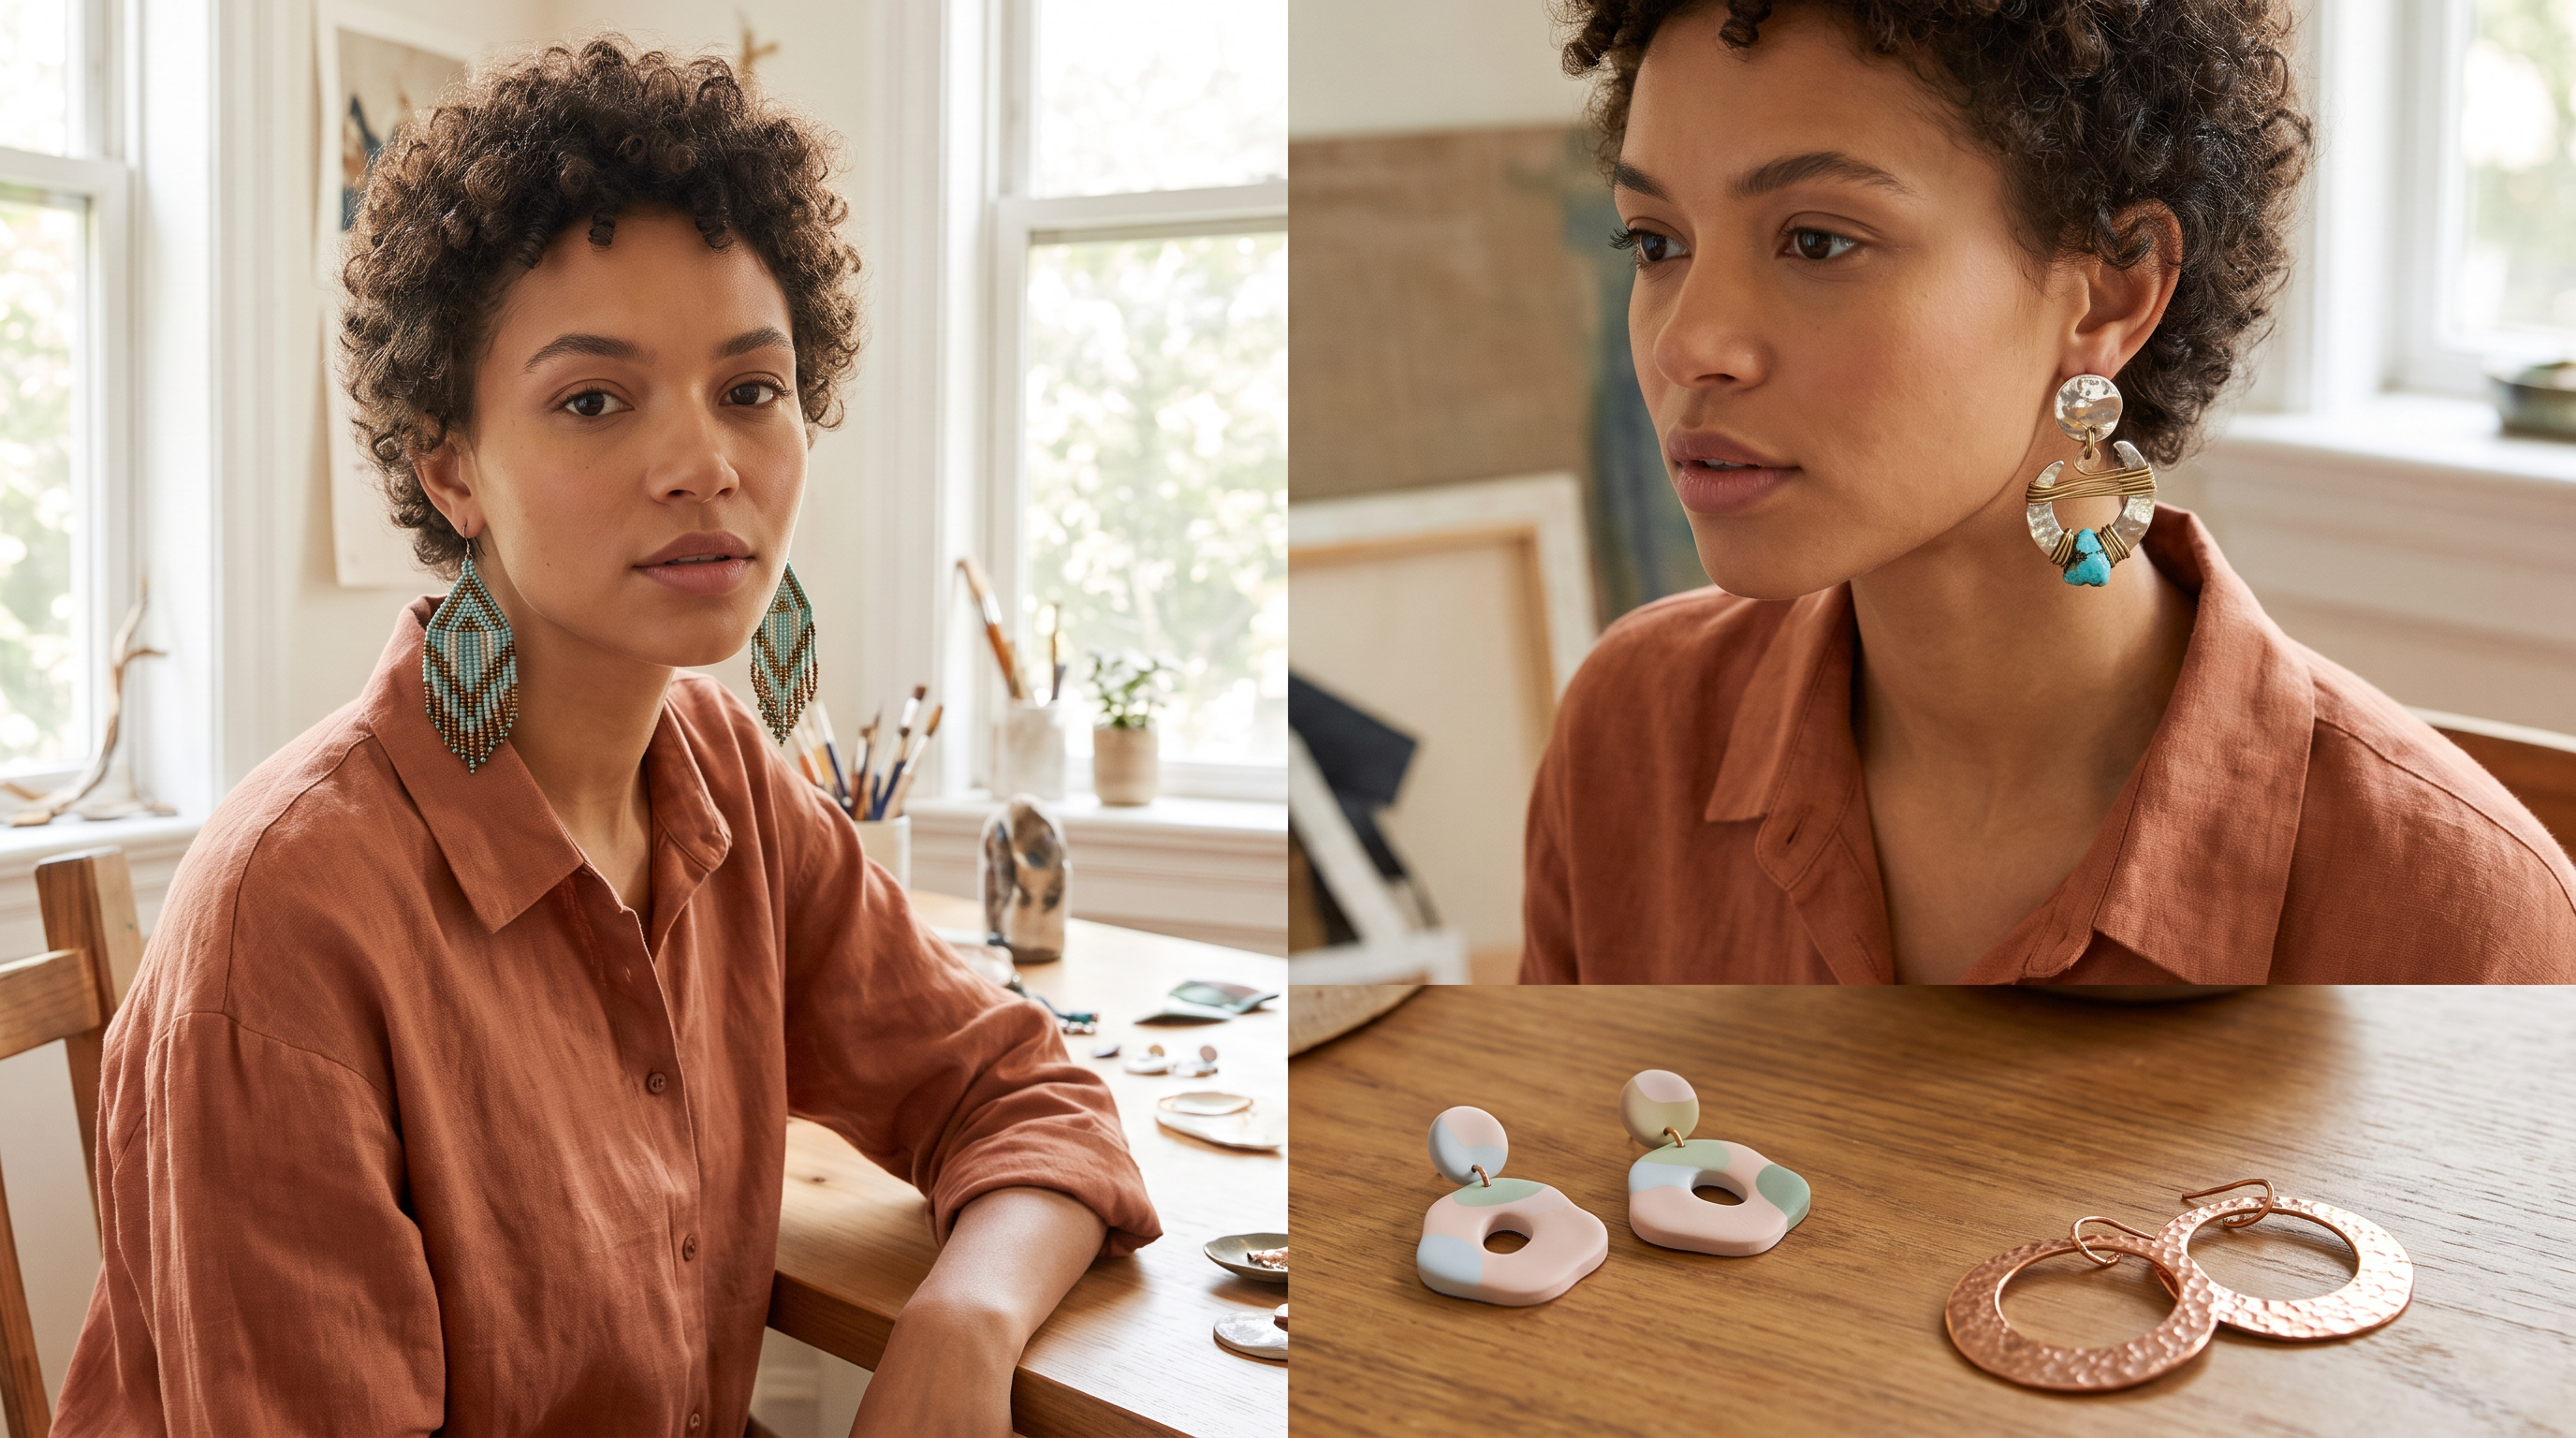
Earrings are the one piece of jewellery where handmade reads as expensive rather than homemade. Nobody can tell from across a room whether a pair came from a gallery shop or your kitchen table, and the materials for most of them cost less than a round of coffees.
At Circus of Wonders, we find this the best possible ratio of effort to compliments. Long, sculptural and visibly handmade is exactly where earrings are heading, so the timing is good. Here are 12 pairs worth making, roughly in order of how forgiving they are.
1. The Long Beaded Fringe


Rows of seed beads hung from a single bar, each strand slightly longer than the last. It is the most forgiving project here, because the fringe hides any wobble in your tension. Use size 11 beads, a fine beading needle and a bar finding with the holes already drilled. Keep the finished drop under eight centimetres or it will fight your collar.
2. Wire-Wrapped Hoops


A plain brass hoop becomes something else entirely once a finer wire is coiled around it. Work with 20 gauge for the hoop and 26 for the wrapping, and thread a bead on every third or fourth turn rather than at even intervals. That irregular spacing is precisely what stops it looking like a kit. Close the join with flat-nose pliers.
3. Polymer Clay Arches


Clay is where to start if you have never made jewellery in your life. Roll a sheet three millimetres thick, cut arches with a cutter, pierce the holes before baking and sand the edges afterwards with wet paper. The sanding is the step everybody skips, and it is the one that separates a gallery piece from a craft fair one.
4. Hammered Brass Discs


Hammered metal is everywhere at the moment and it needs almost no equipment: a brass blank, a ball-pein hammer and a steel block. Strike outwards from the centre and keep turning the disc so the dents land unevenly. Seal the finished pair with a thin coat of clear lacquer or microcrystalline wax, or they will mark your skin green within a fortnight.
5. Tiered Chandelier Drops


Three graduated rings, each hung from the one above, with beads threaded along the bottom curve of each tier. The trick is weight: use hollow or lightweight beads on the lowest tier or the whole thing drags on your earlobe by the second hour. Glass up top, resin or wood underneath, and nobody will ever be able to tell.
6. One Loud Colour


Colour is coming back to jewellery after several years of gold and nothing else. Pick one shade and commit to it completely: coral, cobalt, marigold or a deep leafy green across the entire pair, findings included. A single saturated colour reads as a design decision. Two or three read as whatever happened to be left in the bead tin.
7. Pearls on Wire


Freshwater pearls are far cheaper than their reputation suggests, and they stop a handmade piece looking rustic. Thread them onto headpins, turn a loop with round-nose pliers and hang them in clusters of three or five from a single ring. Keep the pearls irregular rather than perfectly matched, which is both the current look and the cheaper grade.
8. Beaded Geometric Panels


Brick stitch worked flat gives you a small solid panel you can pattern like a tiny rug: checkerboards, stripes, a stylised flower. It is slow, roughly two evenings for a pair, and genuinely the most impressive thing on this list. Work from a graph drawn on paper and keep your thread tension even, or the finished panel will curl.
9. Charm Clusters


Raid a jar of odd findings: a single orphaned earring, a broken bracelet link, a vintage button with the shank snipped off. Hang five or six of them from one hoop at different lengths. The rule that makes this work is material discipline, so keep everything in one metal tone even when the shapes have nothing whatsoever in common.
10. Sculptural Wire Lines


One continuous length of wire bent into an abstract shape, with no beads at all. Draw the shape on paper first and bend against the drawing rather than freehand. Use 18 gauge so it holds, work-harden the finished piece by tapping it flat with a hammer, and make the second earring a mirror image rather than a copy if you can manage it.
11. Thread Tassels


Embroidery floss costs almost nothing and makes the softest statement earring there is. Wrap the floss around a piece of card to set the length, bind the top with matching thread, trim the ends dead straight and steam them over a kettle to drop the kinks out. The steaming takes a minute and changes the whole thing.
12. Deliberately Mismatched Pairs


The most current idea here and the easiest one to get wrong. Mismatched earrings work when the two share something, usually colour or scale, and differ in everything else: a long drop on one side, a small stud on the other. If they share nothing at all, the pair reads as a mistake rather than a decision.
None of this needs a workbench or more than about fifteen pounds of materials, and your first attempt at any of them will be the worst one you make, which is worth knowing before you start. Which pair would you make first? Let us know in the comments!



Leave a Reply